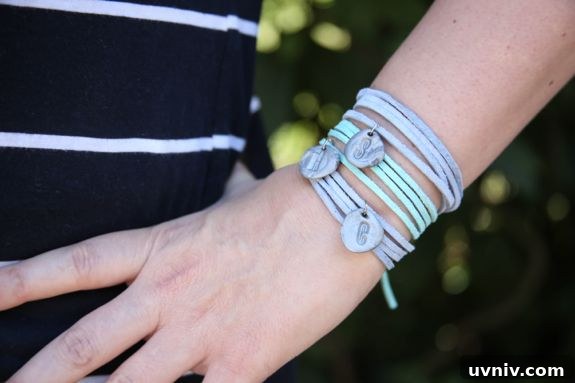
Have you ever received or given a “push present”? This is a thoughtful tradition where a new mother is gifted something special to celebrate the arrival of a baby. Whether you plan to nudge a partner into the idea or make your own gift, a handmade clay charm wrap bracelet is a meaningful, personalized option. It’s an ideal keepsake to represent each child with an initial charm, and it’s simple enough to create at home with basic materials and a little time.
Clay Charm Bracelet Instructions
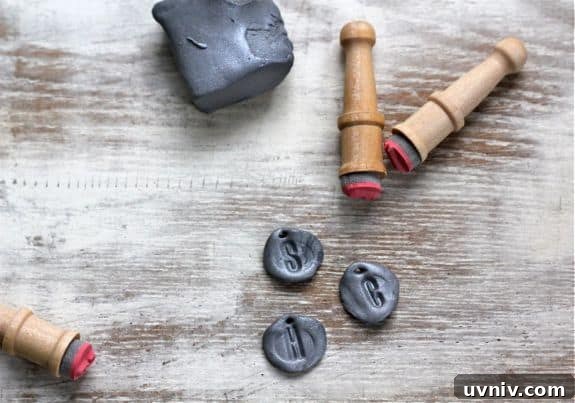
Below are clear, step-by-step instructions for making a wrap bracelet with clay initial charms. This project works well as a push present, a birthday gift, or a simple way to celebrate family. It’s also a great beginner-friendly craft for anyone who enjoys handmade jewelry.
Materials
- Air-dry or oven-bake polymer clay in your preferred color
- Small rolling surface and a smooth roller or bottle
- Alphabet stamp set or a small pointed tool for lettering
- Toothpick or fine needle to make holes for jump rings
- Jump rings (small size)
- Leather cord or waxed cotton cord in coordinating colors
- Scissors and jewelry pliers (optional for opening jump rings)
Step-by-step Guide
1. Prepare the clay: Take a small piece of clay and condition it by kneading until soft and pliable. Roll it into a smooth ball, then press it flat into a disc roughly the size you prefer for a charm.
2. Add the initial: Use an alphabet stamp set or press a small pointed tool gently to form the initial of your child’s name in the center of the disc. Aim for even pressure so the letter is clear and clean.
3. Make a hole for hanging: Poke a tiny hole near the top edge of each disc with a toothpick or needle. Make sure the hole is large enough for a jump ring but not so close to the edge that the charm could break.
4. Cure the clay: Follow the manufacturer’s directions for your chosen clay. For oven-bake polymer clay, bake at the recommended temperature for the specified time. For air-dry clay, allow the charms to dry fully, which may take 24 hours or more depending on thickness and humidity.
5. Prepare the cord: Measure the length of leather or waxed cord you need to wrap around your wrist several times. A four-wrap bracelet offers a layered look; leave extra length to tie a secure knot. Cut the cord cleanly with scissors.
6. Attach the charms: Open a small jump ring with your pliers, thread it through the hole in the charm, and close the ring around the cord. Repeat for each charm, spacing them to your liking.
7. Finish the bracelet: Wrap the cord around your wrist to check fit and appearance. Tie a tight knot to secure the cord. Simple knots are often easier to manage solo and give the bracelet a relaxed, handmade feel. If you prefer a more finished closure, you can add a clasp or sliding knot instead.
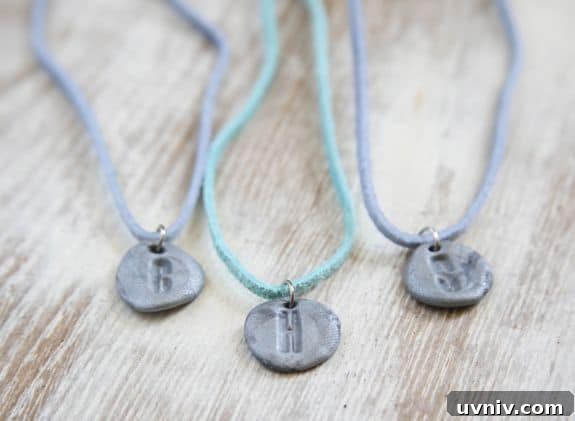
Tips and Variations
- Color choices: Use neutral leather for a classic look or bright cords to match outfits or nursery colors.
- Seal the charms: If you want added durability, consider sealing baked polymer clay with a clear, non-yellowing varnish suitable for jewelry.
- Charm shapes: Instead of discs, try hearts or small tags for a different aesthetic, keeping hole placement secure to prevent breakage.
- Layering: Combine small beads with the initial charms for extra texture and interest.
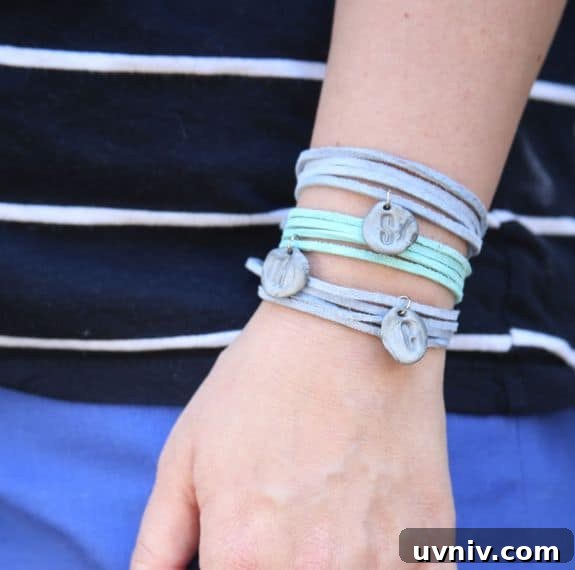
Care and Gift Presentation
To keep the bracelet looking its best, avoid prolonged exposure to water and chemicals. Gently wipe leather cords with a soft, dry cloth if they get dirty. When gifting, present the bracelet in a small box or tied on a ribbon for a polished finish.
This handmade clay charm wrap bracelet is a thoughtful, personalized present that celebrates family and milestones. It’s quick to make, adaptable to personal taste, and carries sentimental value—perfect for commemorating a new arrival or honoring a special mom in your life.